Measurement And Calibration
XCP configuration
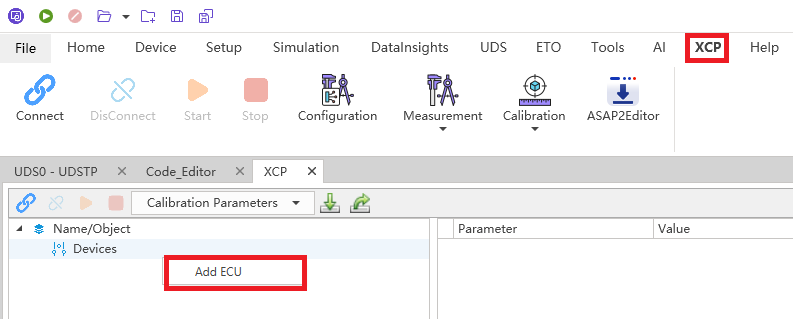
1.Add ECU
Click XCP module->Configuration-> right-click Devices-> click Add ecu, as shown in the figure:
Enter the ECU name, as shown in the picture:

2. Import the A2L file
Click Import, as shown in the picture:

After the import is successful, the file name is displayed, as shown in the figure:

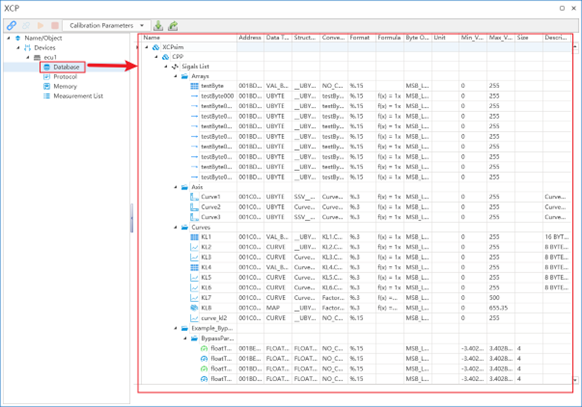
At the same time, the database displays the observation and calibration quantification, as shown in the figure:
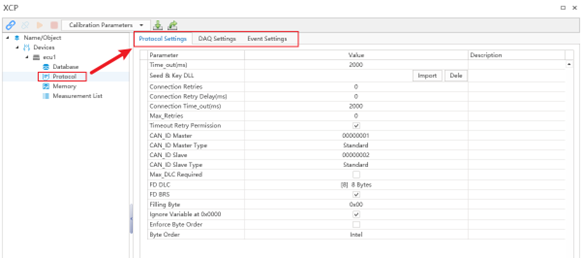
3. Configure the Protocol、DAQ、Event
Connect the ECU
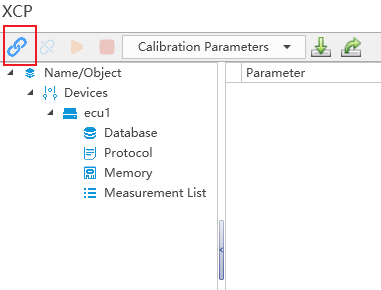
After the configuration is completed, click Connect to connect the ECU, as shown in the figure:
After the connection is successful, as shown in the figure:

Measurement
-
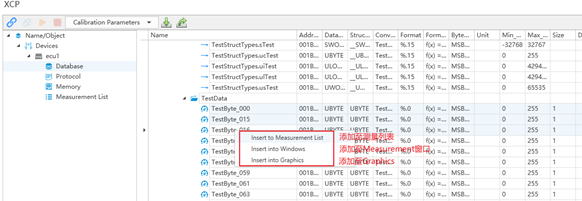
Add observations Select the observation (multiple selections) and right-click to add the observation to the measurement list, Measurement window (you need to create a new Measurement window in advance, by clicking Measurement in the menu bar), Graphics, as shown in the figure:
-
elect the measurement mode
Choice of polling or DAQ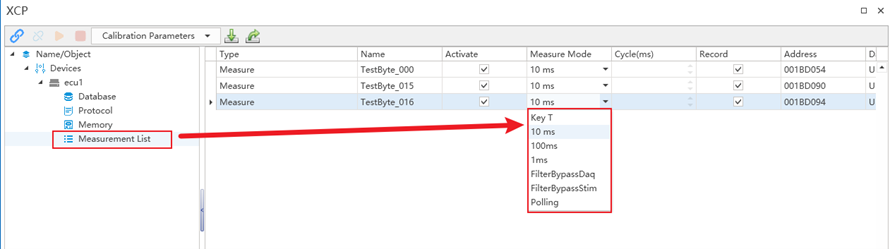
-
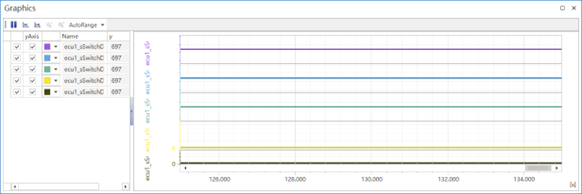
Monitor the value of the observation Add the observation to the graphics or measurement window, as shown in the figure:

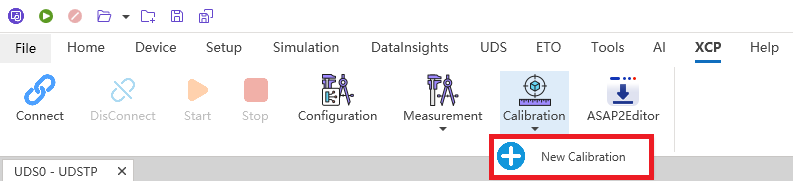
Demarcate
-
Create a new Calibration window, as shown in the figure:
-
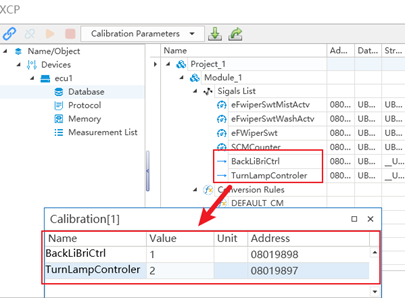
Drag and drop the calibration to the Calibration window, as shown in the figure:
-
Modify the value of the calibration quantitative, as shown in the figure:

Configuration Import and xport
-
You can export the contents of XCP Configuration, as shown in the figure:
-
You can export the contents of XCP Configuration, as shown in the figure:
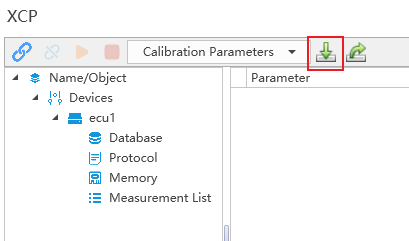
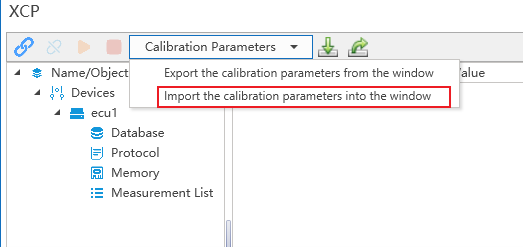
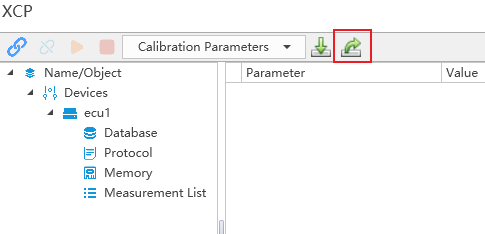
Quantitative import and export
- The contents of all calibration windows can be exported, as shown in the figure:
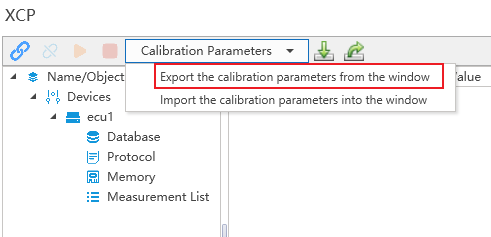
Import the contents of all calibration windows, as shown in the figure: